Instance Configuration
This page provides instructions on how to configure your self-hosted Appsmith instance. You can configure a self-hosted Appsmith instance by choosing any one of the below options:
Admin settings
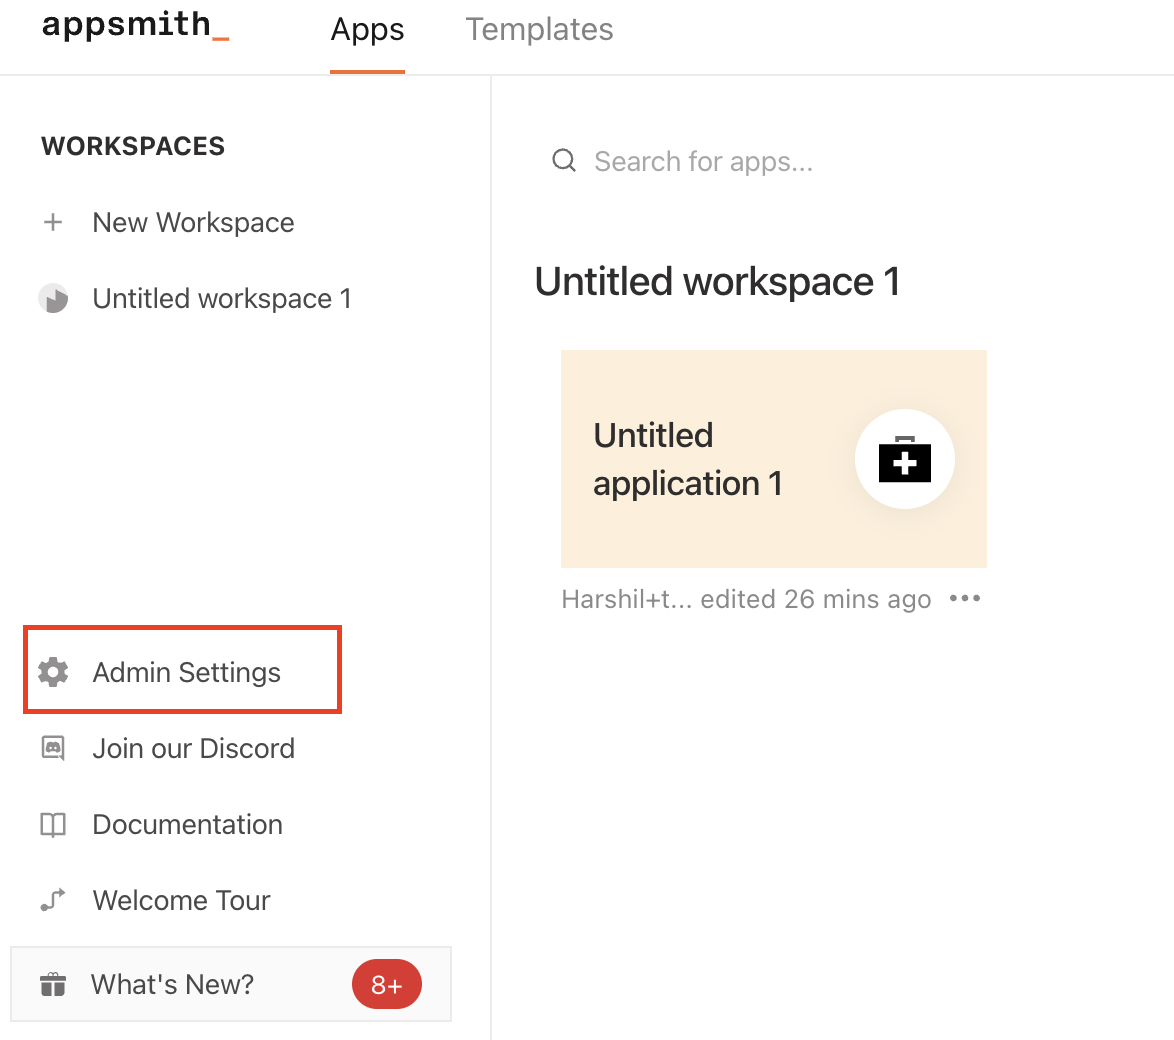
The Admin Settings page allows superusers on self-hosted instances to manage various instance configurations, including email, authentication, and Google Maps integration, as well as user settings and permissions.
If you don’t see the “Admin Settings” option on the left sidebar, you’re not a super admin for the Appsmith instance and must be granted admin privileges by an existing super admin.

If you have set values using environment variables for your instance, those values take precedence over values specified in the Admin Settings UI.
Add super admins
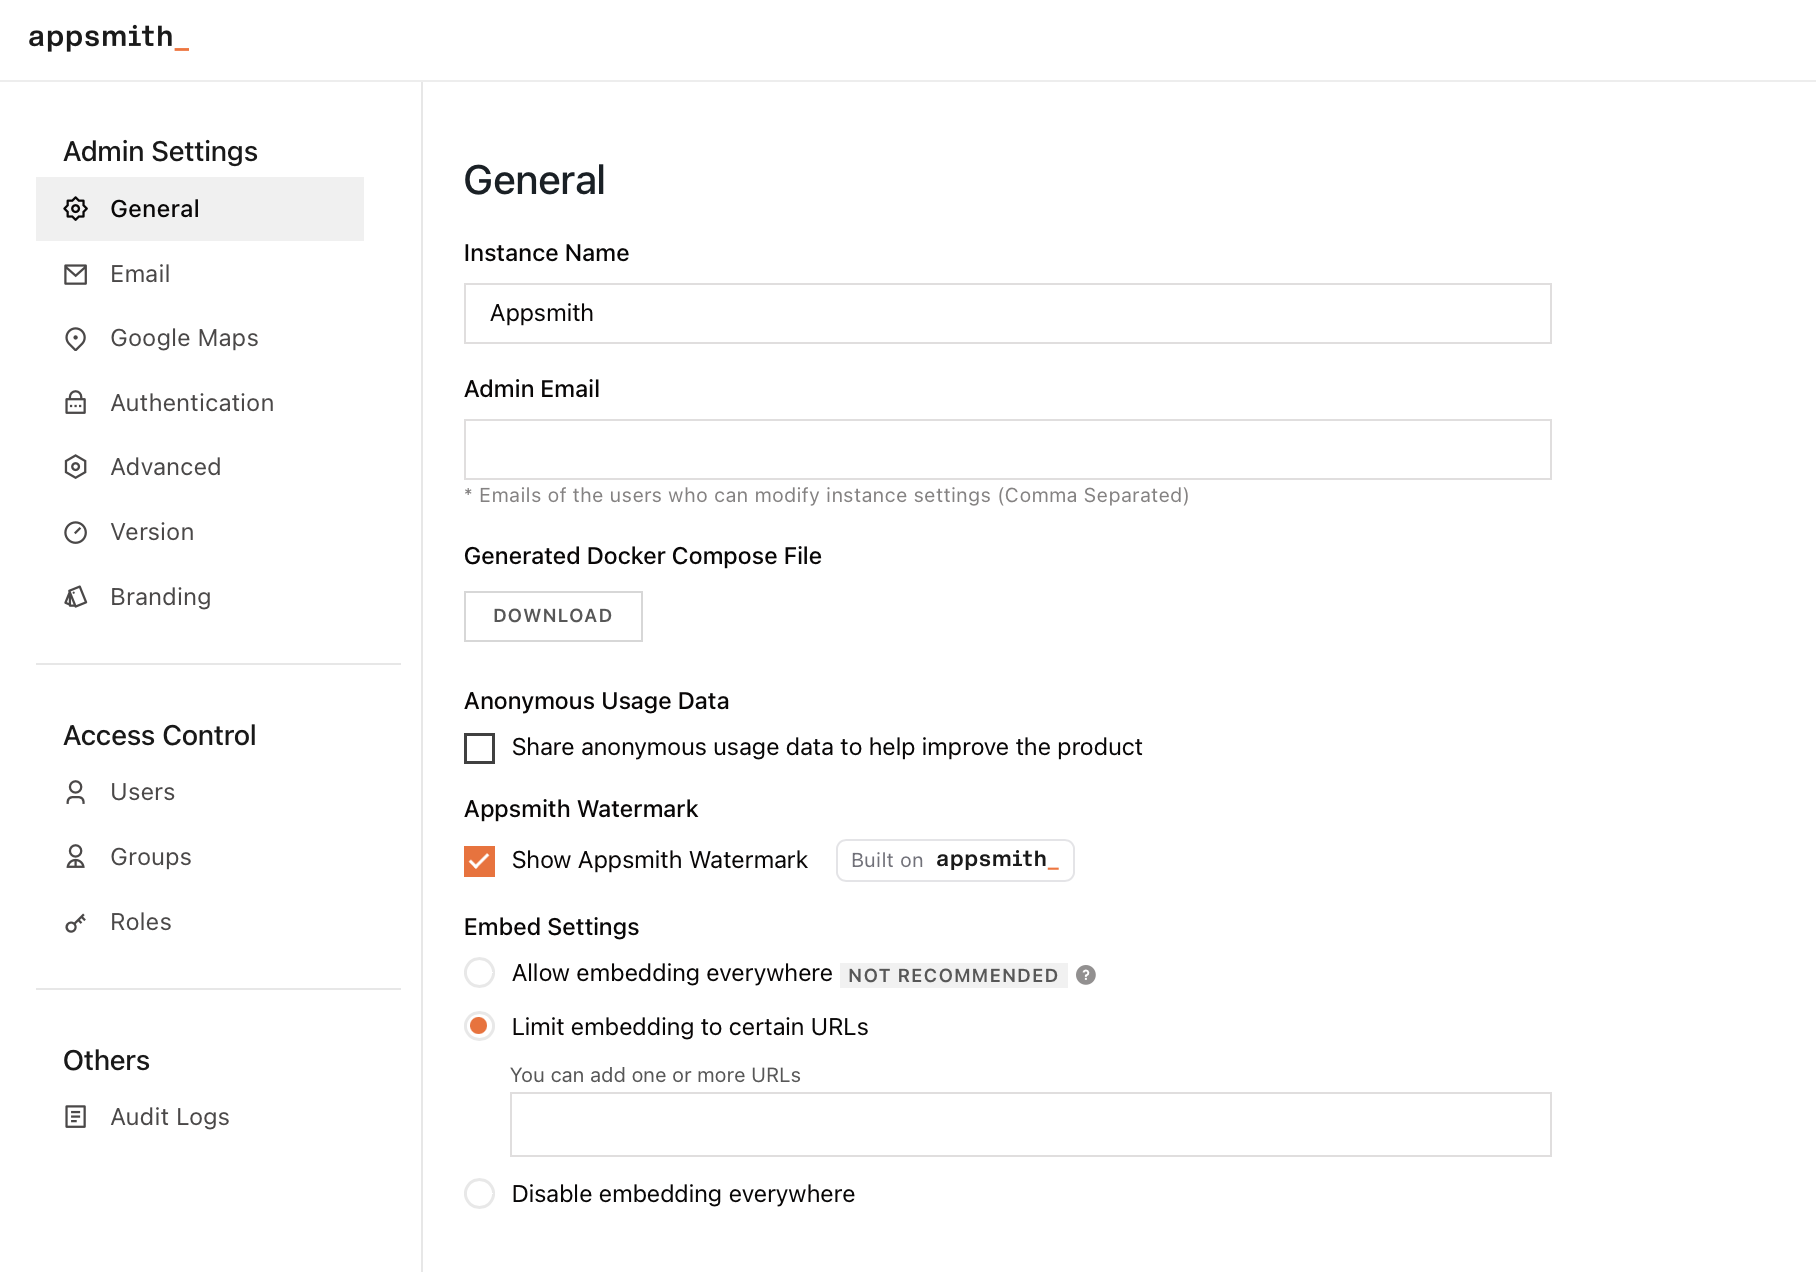
Users who are granted super admin privileges are authorized to access and make changes to instance & platform settings. If you are a super admin and want to grant super admin privileges to other users, add their email addresses in the Admin Email field on the General settings page so they can access and modify instance settings as shown below:

Configure instance
The Admin settings enable the configuration of various settings such as user authentication, email notifications, integrations, and more using the user interface for your self-hosted Appsmith instance.

| Name | Type | Description |
|---|---|---|
| Instance Name | General | Modify the name of self-hosted instance |
| Admin Email | General | Specify user emails whom you want to make the super admin of your self-hosted instance. Add comma-separated user's email to add more than one super administrator. |
| Generated Docker Compose File | General | Generate the Docker Compose file, which defines services for your Appsmith instance. |
| Share anonymous usage data | General | Choose whether to share anonymous usage data with Appsmith to help improve the product. |
| Appsmith Watermark | General | Upgrade to Appsmith Business Edition to remove the Built on qppsmith_ badge on the app's bottom right corner. |
| Embed Settings | General | Configure to allow users to embed Appsmith in external applications. You may choose to enable embedding on any domain, limit it to certain domains, or disable it completely. |
| Configure Email on your Appsmith instance. For more information, see Email. | ||
| Google Maps | Google Maps | Configure to use the Maps widget on your instance. For more information, see Google Maps. |
| Authentication | Authentication | Configure the authentication type like Google OAuth, GitHub OAuth. If you are on the Appsmith Business Edition, you can also configure authentication using popular Single Sign-on (SSO) authentication protocols such as SAML and OpenID Connect. |
| MongoDB URI | Advanced | Configure to use an external MongoDB database for your self-hosted instance. For more information about how to configure external MongoDB, see Custom MongoDB & Redis. |
| Redis URL | Advanced | Configure to use an external Redis instance for your self-hosted instance. For more information about how to configure external Redis, see Custom MongoDB & Redis. |
| Custom Domain | Advanced | Configure to set up a custom domain for your Appsmith instance. |
| Version | Version | Shows the current version of Appsmith. |
| Branding | Branding | Appsmith custom branding feature is exclusive to self-hosted, Business Edition instances. It enables you to personalize workspaces and apps, including the login screen, invite emails, and error pages to match your company's branding. For more information about how to customize and apply branding, see Branding. |
| Access Control | Access Control | Access control is a feature exclusive to Appsmith Business Edition users that implements Role Based Access Control by assigning specific permissions to different user roles. For more information, see Access Control. |
| Audit Logs | Others | The audit log feature in Appsmith is only available to Appsmith Business Edition users and provides a record of all significant activities on the platform. For more information, see Audit Logs. |
Environment variables
You may also choose to configure your self-hosted Appsmith instance using environment variables. Follow the instructions below for manually updating the configuration file for your installation type.
Configure Docker installations
To configure a docker installation, go to your installation folder and edit the stacks/configuration/docker.env file with the environment variables for the service. For example, you wish to add the Google Maps API key. Add/update the environment variable APPSMITH_GOOGLE_MAPS_API_KEY and add the Google API key to it as shown below:
APPSMITH_GOOGLE_MAPS_API_KEY=YOUR_API_KEY
After making changes, be sure to restart the docker containers for the changes to take effect. Run the below command to restart the Appsmith container.
- Docker run
docker restart appsmith - Docker Compose
docker-compose restart appsmith
Configure Helm installations
You can modify your Appsmith installation on Kubernetes using a values.yaml file. Follow these steps to update the values:
- Community Edition
- Business Edition
Go to the root directory of your installation.
Generate the
values.yamlfile with:helm show values appsmith/appsmith > values.yamlModify the parameter values in the
values.yamlfile available under theapplicationConfigsection. For example, if you want to change the email address from which your messages are sent, as shown below:applicationConfig:
APPSMITH_MAIL_FROM:"test@test.com"Update the values with:
helm upgrade appsmith appsmith/appsmith -f values.yaml -n appsmith
Go to the root directory of your installation.
Generate the
values.yamlfile with:helm show values appsmith-ee/appsmith > values.yamlModify the parameter values in the
values.yamlfile available under theapplicationConfigsection. For example, if you want to change the email address from which your messages are sent, as shown below:applicationConfig:
APPSMITH_MAIL_FROM:"test@test.com"Update the values with:
helm upgrade appsmith appsmith-ee/appsmith -f values.yaml -n appsmith
Configure ECS installations
To configure an ECS installation, follow these steps:
- Navigate to the ECS console and select Task Definitions on the sidebar.
- Click the Task Definition used by your ECS instance, and hit Create new revision.
- On the
Task Definition configpage, click the Appsmith container definition to edit it. In the Environment Section, enter the environment configuration as key-value pairs, as shown below.
-ca02923f39accea962e1ca9546d44608.png)
It's recommended to use AWS Secrets for sensitive information. Follow these steps to create a secret. Use the ARN of the secret as the Environment value and set the option to ValueFrom.
- Hit the Update button, and hit Create to make a new task definition.
- Navigate back to the ECS console and select your cluster. Click your service to open the service details.
- Click Update, and select the latest revision of the Task Definition.
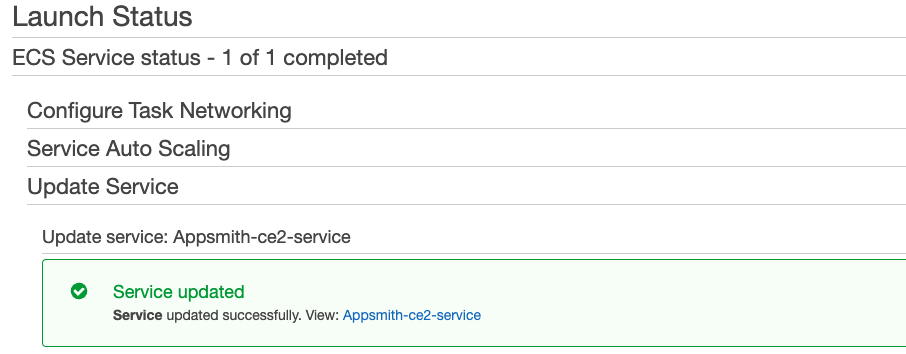
- Hit Skip to review and then Update Service. The screen below shows the status.

It may take a minute for the new ECS Task to start running.
