Active Directory
To configure Appsmith to use Azure Active Directory (Azure AD) as a SAML provider, follow the steps below:
Prerequisites
- A self-hosted Appsmith instance. See the installation guides for installing Appsmith.
- Before setting up Single Sign-On (SSO), ensure that you have already configured a custom domain for your instance.
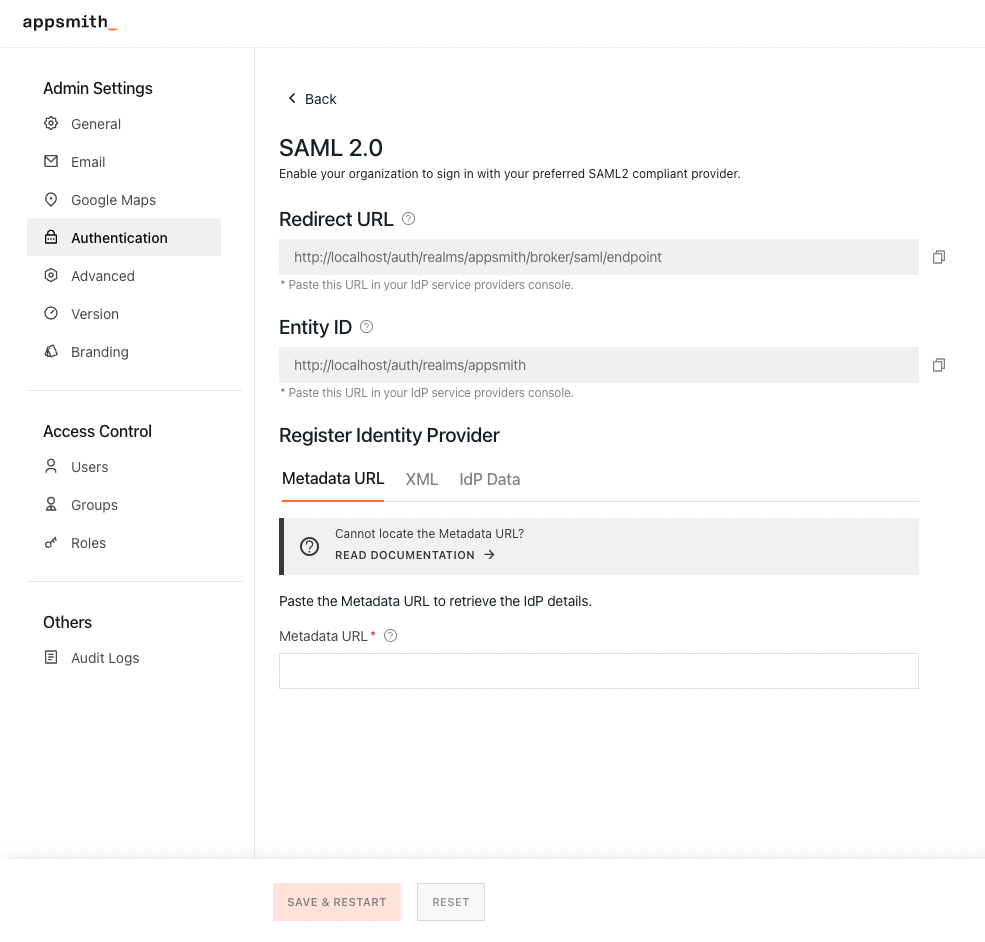
- In Appsmith, go to Admin Settings > Authentication and click Enable on SAML 2.0.
- Copy the Redirect URL and Entity URL from the SAML 2.0 configuration page to add them later in the Active Directory settings.

Create application on Active Directory
Log in to your Azure account and under Azure Services, click Azure Active Directory.
Go to Manage Tenants from the navigation bar, select your directory and click Switch.
In your directory's homepage, click + Add > Enterprise Application from the navigation bar.
Under the Browse AD Azure Gallery page, click Create your own application from the navigation bar.
a. Add your application's name.
b. Select Integrate any other application you don't find in the gallery (Non-gallery) from the What are you looking to do with your application? options.
c. Click Create.
In your Application's Overview page, Click Set up single sign on > SAML.
In the SAML-based Sign-on page, go to the Basic SAML Configuration section under Set up Single Sign-On with SAML and click Edit.
a. Add the Entity URL under Identifier (Entity ID).
b. Add the Redirect URL under Replay URL(Assertion Consumer Service URL).
c. Click Save on the navigation bar.
In the Attributes & Claims section, click Edit.
a. Click the Unique User Identifier (Name ID) claim and update the following fields:
- In the Name identifier format field, select Email address from the dropdown.
- Select Attribute from the given options in Source.
- In the source attribute field, select the option from the dropdown that stores the user’s email address. This is an important configuration to ensure that the user’s email is passed to Appsmith while signing in.
- Click Save.
b. If you are only interested in simple authentication via SAML, you can skip this step. However, if you want to configure custom claims, follow the steps below:
- Click Add new claim, fill in the details and click Save.
- Once saved, ensure that it is visible in the Additional claims section.
- Copy the claim name for the newly created claim to add it later in the SAML configurations in Appsmith.
Go to the SAML Certificates section and copy the App Federation Metadata Url to add it later in the SAML configurations in Appsmith.
Go back to the Application's Overview page, click Assign users and groups and add the users or groups to this application.
Register Active Directory in Appsmith
To complete the SAML configuration, you’ll have to register the identity provider on Appsmith as mentioned below:
- Open the copied App Federation Metadata Url in a browser tab.
- Add the following values from XML tags in IdP Data under the Register Identity Provider section in the Appsmith SAML 2.0 configuration page:
IdP Data Field | Metadata XML Tag |
|---|---|
| Entity ID | Enter the value of the entityID attribute specified in the <EntityDescriptor> tag. |
| Single Sign-On URL | Enter the value of location attribute specified in the <SingleSignOnService> tag. |
| X509 Public Certificate | Enter the value specified in the <X509Certificate> tag. |
Enter this value - urn:oasis:names:tc:SAML:1.1:nameid-format:emailAddress |
To configure custom SAML claims (if added in the Active Direcorty's Claims and Attributes) in Appsmith, Click the Advanced section.
a. For each custom claim, enter a name in the Key field that references the custom SAML claim within Appsmith.
b. In the Value field, enter the exact claim name that you copied from the Active Directory's Attributes and Claims section.
Once you have added the details, click the SAVE & RESTART button to save the configuration and restart the instance.
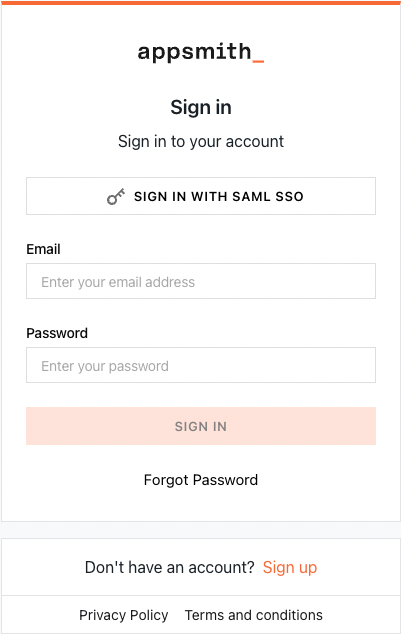
After the Appsmith instance restarts, try logging in again to your account. You'll see a login screen with the SIGN IN WITH SAML SSO button.

